


Creating an experiment
Contents
To create a new experiment, go to the Experiments section in the PostHog app, and click on the New experiment button in the top right.
This opens a guided creation wizard that walks you through three steps:
- Description – What are we testing? Name your experiment, write a hypothesis, and set the feature flag key
- Variant rollout – Who sees which variant? Configure variants, split percentages, and rollout percentage
- Analytics – How do we measure impact? Set inclusion criteria and add metrics to measure results
A Guide panel on the right provides contextual tips for each step.
When you're done, click Save as draft on the final step. You can launch the experiment from its detail page after saving.
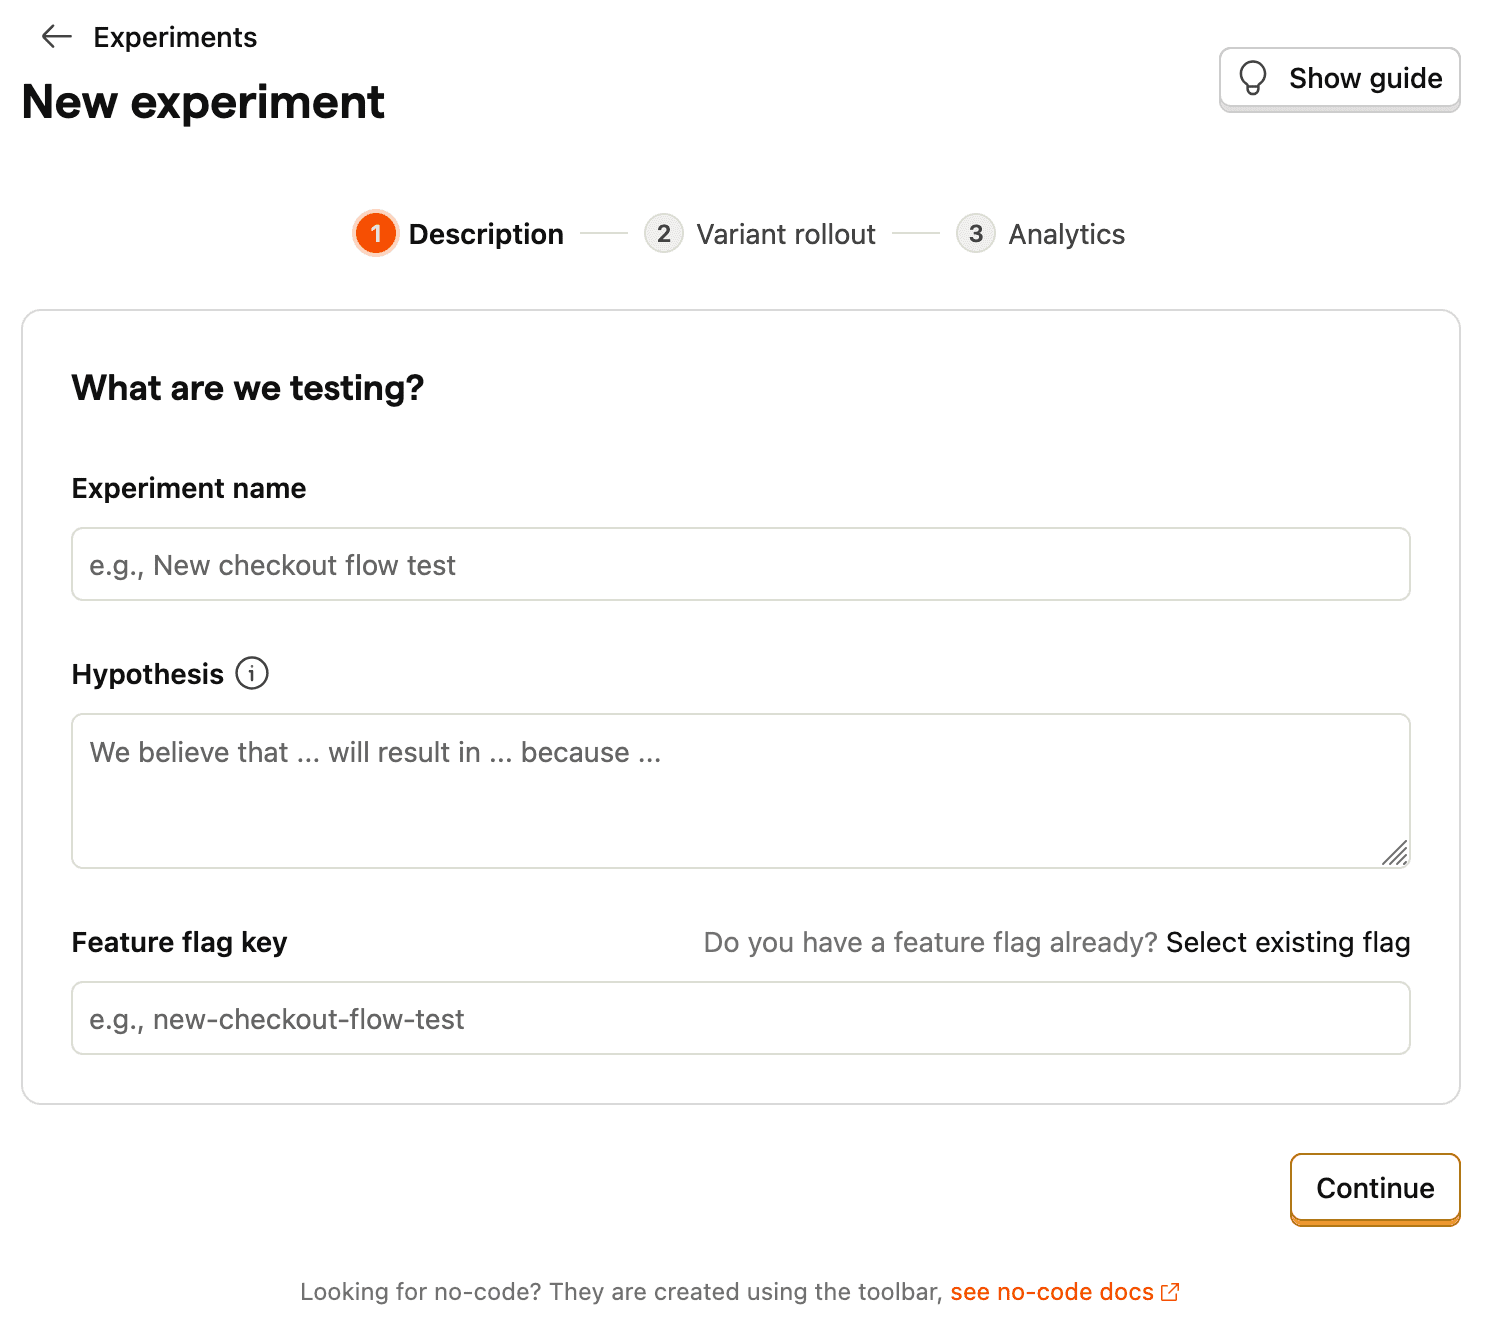
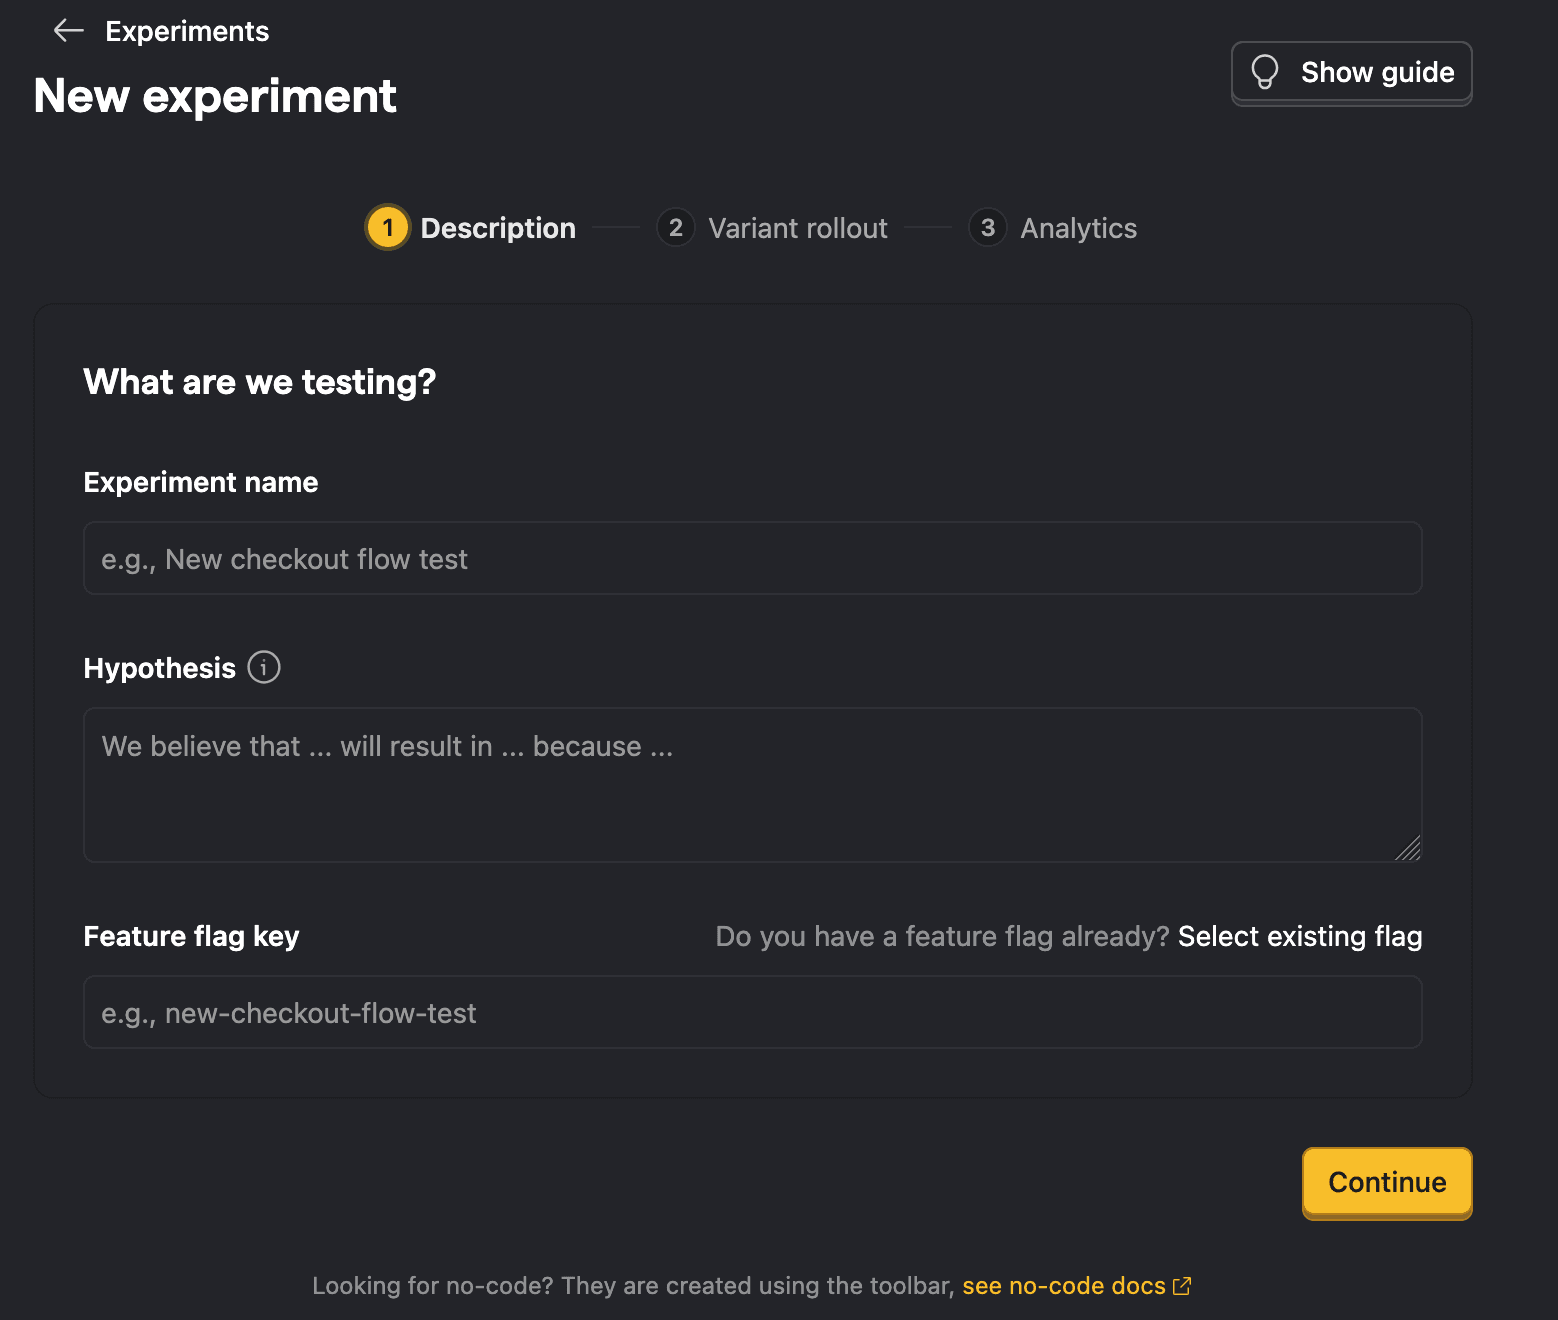
Step 1: Description
This step captures the core details of your experiment: its name, hypothesis, and the feature flag that powers it.
Feature flag key
Each experiment is backed by a feature flag. In your code, you use this feature flag key to check which experiment variant the user has been assigned to.
You can use an existing feature flag if it has at least 2 variants (including one named 'control'). Otherwise, the feature flag will be created for you automatically when the experiment is created.
By default, the wizard creates a new feature flag for you automatically when the experiment is saved. The flag key is auto-generated from your experiment name, but you can customize it. If you already have a feature flag you'd like to use, click Select existing flag to link it instead. The existing flag must have multiple variants with 'control' as the first variant.
Advanced: It's possible to create experiments without using PostHog's feature flags (for example, if you're using a different third-party library for feature flags). For more info, read our docs on implementing experiments without feature flags.
Step 2: Variant rollout
This step controls who sees which variant. You configure the variants themselves, how traffic is split between them, and what percentage of your users are included.
Experiments require at least 2 variants: a control and one or more test variants. By default, all experiments have a control and test variant. You can add more variants if you like (up to 9 test variants). If you need to modify the variants after you've created the experiment, you can do so from the feature flag page.
Experiment variants
By default, all experiments have a control and test variant. You can add more variants in this step. Participants are automatically split equally between variants.
If you link an existing feature flag, this step becomes read-only. You can adjust the flag's variants from the feature flag page after saving the experiment.
The Traffic preview shows a visual bar chart of how traffic is distributed across your variants based on your split and rollout percentage. The visualization displays the actual bucketing logic of how users are distributed in a rollout. Increasing the rollout percentage does not reassign users to other variants; however, changing the split or adding variants might lead to inconsistent experiences for users. Learn more about what happens when you change distribution after rollout.
Participant type
By default, PostHog runs experiments at a user-level. This means that participants are assigned to a variant based on their person properties. However, if you've created groups, you can also run group-targeted experiments. This will test how a change affects your product at a group-level by providing the same variant to every member of a group.
Rollout and release conditions
By default, your experiment rolls out to 100% of participants. You can adjust the Rollout percentage to limit the percentage of users included in the experiment. This is useful when you don't want to expose all users to the experiment.
For more advanced release conditions – such as targeting specific user properties, cohorts, or groups – click Manage distribution or Manage release conditions after saving your experiment as a draft. This modifies the release conditions for the underlying feature flag.
Note: If you select a server-side event, you may see a warning that no feature flag information can be detected with the event. To resolve this issue, see step 2 of adding your experiment code and how to submit feature flag information with your events.


Step 3: Analytics
This step controls two things: who is included in the analysis, and what metrics you're measuring.
Inclusion criteria
By default, a user is considered exposed to the experiment when a $feature_flag_called event is recorded. You can switch to a custom event if you want to narrow exposure to users who actually reached the relevant part of your product.
You can also configure multiple variant handling – what happens when a user is exposed to more than one variant. The default (and recommended) behavior is to exclude these users from the analysis. Alternatively, you can use the first variant they were exposed to.
A filter test accounts toggle lets you exclude internal users from the analysis using your project's test account filters.
Metrics
Metrics define how you measure the experiment's impact. There are two categories:
- Primary metrics – The main measurements that determine whether your experiment succeeded.
- Secondary metrics – Additional measurements to monitor for side effects or supplementary insights.
You can create metrics directly or reuse shared metrics that have been defined at the project level. You can always refine your metrics and inclusion criteria after saving the experiment – these settings only affect the analysis, not what your users see or what data is collected.
Since metrics only affect the analysis, you can also launch the experiment without metrics and add metrics later. However, we recommend defining your metrics upfront to avoid biasing your analysis.